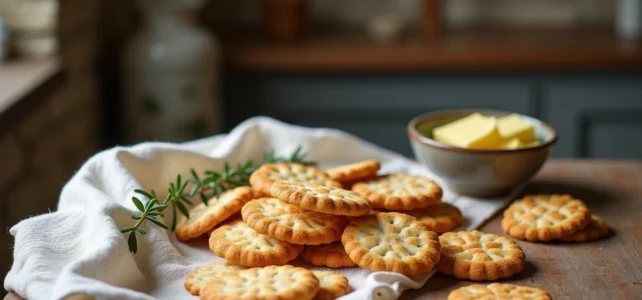
What distinguishes a successful Breton craquelin from a simple slightly dry puff pastry biscuit? The answer lies in three measurable parameters: the butter/flour ratio, the temperature of the scalding water, and the drying time before baking. These variables, often treated as details, determine the final texture, between a crunchy surface and a light interior.
Direct gas cooking or indirect heat: how the heating method changes the texture of the craquelin
The heating method of the oven directly influences the formation of the craquelin’s crust. In biscuit making, two modes coexist: direct gas, where the flame heats the oven chamber without intermediaries, and indirect thermal exchange, where hot air circulates via a heat exchanger.
Direct gas generates a higher humidity level in the chamber. The craquelin benefits from this residual steam to puff up more in the first few minutes, then the crust forms quickly under the effect of radiant heat. Conversely, indirect heat produces a more homogeneous drying but reduces the contrast between the crunchy exterior and the airy interior.
In a home oven, the mode closest to direct gas remains natural convection (without a fan), with combined bottom and top heat. If your oven offers forced air, you will achieve a more uniform coloration, but a slightly denser craquelin. Testing both modes on the same batch, by placing one tray in the middle and another at the bottom, allows for comparison of results on an identical batch of dough.
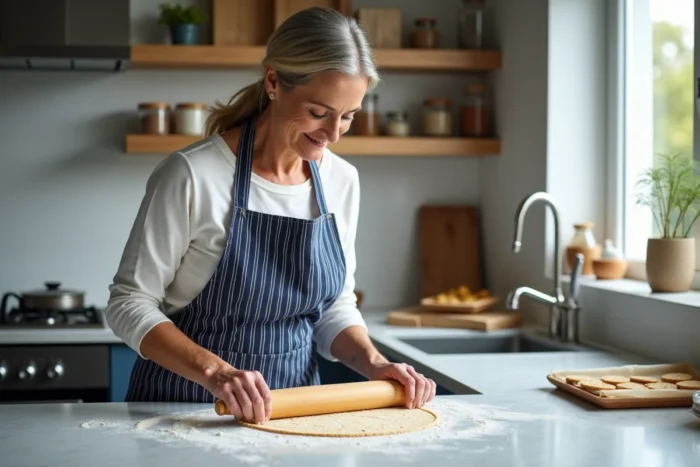
For a deeper dive into the proportions and the complete step-by-step process, the homemade Breton craquelin recipe on L’Entracte Gourmand details each step with the measurements suitable for a home oven.
Traditional Breton craquelin and pastry craquelin for choux: a table of differences
The word “craquelin” refers to two very different preparations depending on the context. The Breton craquelin (or scalded) is a puff pastry biscuit made from scalded dough, while the pastry craquelin is a thin layer of shortcrust pastry placed on choux. Confusing them misleads recipes and expectations.
| Criterion | Breton craquelin (scalded) | Pastry craquelin (for choux) |
|---|---|---|
| Basic ingredients | Flour, eggs, butter, hot water | Butter, sugar (brown sugar), flour |
| Key technique | Scalding (dough dipped in hot then cold water) | Quick sanding, rolled thin |
| Baking | Oven after prolonged drying | Raw placed on the choux before baking |
| Final texture | Dry and puffed biscuit, crunchy under the bite | Crispy and golden shell on a soft choux |
| Origin | Country of Rance, Brittany (documented in 1607) | Contemporary French pastry |
Scalding is the only step that distinguishes the Breton craquelin from any other biscuit. This technique, documented in the early 17th century, involves dipping the dough in hot water to partially cook it, then in cold water to set the structure. Without it, the dough does not puff properly, and the result resembles a flat shortbread.
Flour, butter, and eggs: the adjustable variables of homemade Breton craquelin
The dough for the Breton craquelin relies on a limited number of ingredients, making each variable all the more sensitive.
- Butter must be at room temperature to incorporate without creating lumps in the flour. Butter that is too cold produces a heterogeneous dough that does not rise evenly.
- Standard wheat flour (type 55) is suitable, but a flour slightly richer in protein improves the gluten network’s stability during scalding. Avoid whole grain flours, which weigh down the structure.
- Eggs act as a binder and add volume during baking. They should be incorporated one by one into the dough worked with a “broy” (mortar), or in a mixer with a dough hook.
Prolonged kneading is mentioned in the historical recipe from 1607: “the paste is consequently ground with the broy, which is a large round and short pestle.” This step develops the gluten and gives the craquelin its ability to trap air during baking.
Gourmet variations of the Breton craquelin: chocolate, caramel, and cheese
The craquelin lends itself to both sweet and savory variations, provided the scalding technique is not altered. Additions occur after kneading, before the water is added.
Cheese is the oldest variation. The 1607 recipe explicitly mentions: “One can mix in good fatty cheese ground separately.” A grated firm cheese integrates without weighing down the dough. The quantity remains modest to avoid greasing the whole.
For sweet versions, chocolate chips or powder work better than melted chocolate, which alters the dough’s consistency before scalding. Caramel bits add extra crunch and a touch of vanilla. Chopped dried fruits (almonds, hazelnuts) can also be added after kneading.

As a garnish, the Breton craquelin pairs well with both a dessert cream and foie gras. Its neutral flavor in the plain version makes it a versatile base, from breakfast to dinner.
Drying and storage: two often neglected steps
After scalding, the drying before baking conditions the entire cooking process. If the surface remains moist, the craquelin does not crack under the bite but stays rubbery. Drying is done in the open air, on a rack, until the surface is matte and dry to the touch.
Storage is the other critical point. The Breton craquelin absorbs ambient moisture within hours. An airtight metal box, with a layer of absorbent paper at the bottom, prolongs the crispy texture for several days. Avoid plastic containers that promote condensation.
The Craquelins workshop in Saint-Malo, which opens its doors to visitors on Wednesdays and Fridays by reservation, allows you to observe these drying and baking gestures in artisanal conditions. The artisan’s parameters are transferable to the home oven, provided you adjust the drying time to the humidity of your kitchen.
A successful Breton craquelin relies on a precise sequence: long kneading, controlled scalding, complete drying, baking suited to the type of oven. Any shortcut on one of these steps comes at the cost of texture.