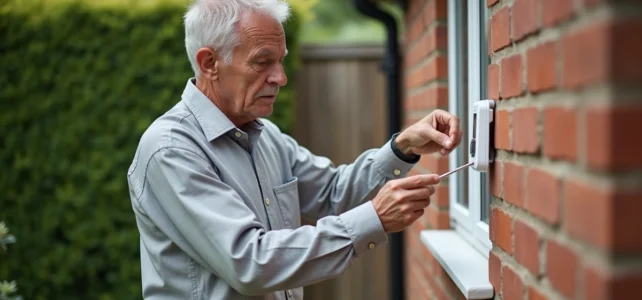
The temperature displayed by an outdoor thermometer depends less on the quality of the device than on its location. Two identical sensors placed a few meters apart can show notable discrepancies if one captures the radiation from a wall or the residual heat from a patio.
The standards of the World Meteorological Organization (WMO), adopted by Météo-France in its technical note No. 35 (updated in 2014 under the designation technical note 35B), frame the measurement conditions for professional stations. Adapting these principles at home requires some practical adjustments.
Urban microclimate and façade materials: what the thermometer really measures
Before choosing a location, it is essential to understand what skews a measurement. A thermometer does not only capture the ambient air temperature. It also reacts to the infrared radiation emitted by nearby surfaces.
Dark mineral surfaces (asphalt, dark façades, artificial grass, metal cladding) accumulate heat and release it through radiation. During heatwaves, a sensor placed near a concrete patio overestimates the actual air temperature. It measures a local microclimate, not the representative temperature of the garden.
This phenomenon, well documented in studies on urban heat islands, also affects individual houses in subdivisions. A southwest-facing wall, a light gravel surface, or a metal fence each alters the radiative balance in the immediate vicinity. To know where to place an outdoor thermometer, one must first map these sources of stray heat in their own environment.
Field reports vary on this point: some users of connected stations obtain minimal discrepancies with the nearby Météo-France station, while others measure several degrees higher simply because the sensor is mounted on a wall exposed to the afternoon sun.
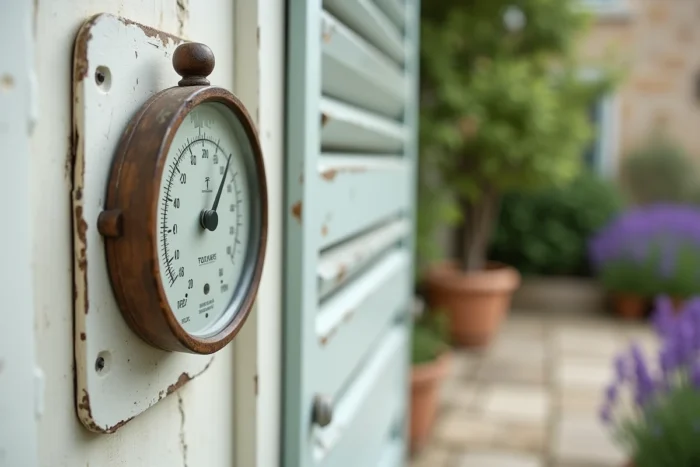
Height, distance, and ventilation: WMO criteria adapted for the garden
The WMO recommendations for professional stations define a precise framework. At home, the goal is not to replicate a standardized station but to get close enough to obtain usable measurements.
Height of the sensor above ground
Official weather stations place the thermometer between 1.25 m and 2 m above the ground, on grassy terrain. This height limits the influence of heat radiated from the ground. Below one meter, the temperature measured in summer can be significantly higher, especially on a mineral surface.
At home, mounting the sensor between 1.5 m and 2 m remains a reliable benchmark. A wooden post, a fence stake, or a dedicated support will do. Avoid placing it directly on a windowsill or a metal railing.
Distance from walls and reflective surfaces
The sensor must be at least a few meters away from any façade. A wall radiates heat long after sunset, which skews nighttime readings. Glazed surfaces (windows, verandas) and low roofs pose the same problem by reflecting solar radiation.
Air circulation around the sensor
A thermometer confined in a corner of a wall or under a closed awning does not measure the temperature of free air. Air must circulate freely around the probe for natural convection to maintain the sensor in thermal equilibrium with the surrounding atmosphere.
Weather services are increasingly integrating the temperature-wind coupling in their analyses. For an individual, the principle is simple: if the air stagnates around the sensor, the measurement drifts. An open location, even partially ventilated, yields better results than a sheltered corner.
Weather shelter or simple shade: protecting the probe from solar radiation
Direct sunlight is the primary source of error. A thermometer exposed to solar radiation can display ten degrees above the actual air temperature. Professional stations use a standardized weather shelter (Stevenson type): a white louvered box that allows air to pass while blocking radiation.
Reproducing this shelter at home is possible on a small budget. A few criteria to respect:
- White or light color to limit solar radiation absorption by the shelter itself
- Open or louvered walls to allow natural ventilation of the probe
- Sloped roof or double roof to prevent rain from reaching the sensor while avoiding the greenhouse effect
- Stable mounting, preferably oriented north to minimize direct sun exposure
If a dedicated shelter is not available, a permanent shade (north of a building, under a tree with evergreen foliage) offers partial protection. The shade of a deciduous tree poses a seasonal problem: the probe will be exposed in winter when the leaves fall, altering measurement conditions from one season to another.
Connected sensors and home automation: specific location constraints
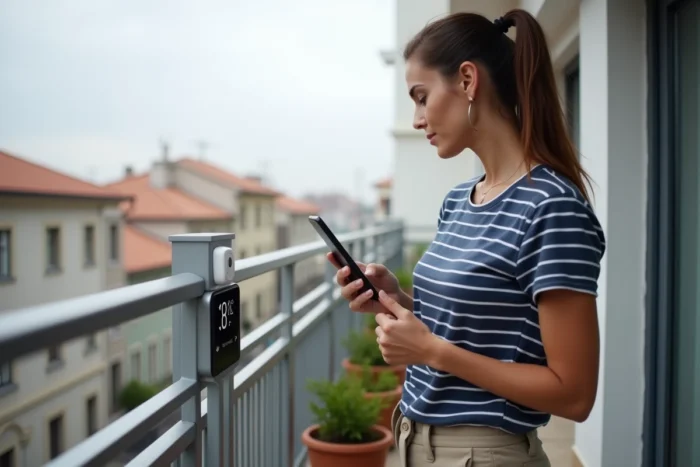
Wireless weather stations and sensors integrated into home automation systems (shutters, thermostats) are multiplying in homes. These devices add a radio range constraint to the location question.
A wireless outdoor sensor must remain within range of its indoor base. Load-bearing walls, concrete slabs, and metal partitions reduce effective range. The ideal location for measurement is not always the one that guarantees connection, necessitating a compromise.
Sensors integrated into connected roller shutters or façades pose a different problem. Mounted directly on the masonry, they are influenced by the building’s thermal properties. Their measurement reflects more the surface temperature of the wall than that of the outside air. This data remains useful for controlling the automatic closing of shutters in case of high heat, but it does not constitute a reliable meteorological measurement.
For connected stations with a remote probe, the same location rules apply: distance from walls, correct height, shelter from radiation. The remote probe, connected by a cable or radio signal, allows the measurement point to be dissociated from the display point.
- Check the advertised range of the sensor and divide it by two to account for real obstacles
- Test the connection at the chosen location before permanently fixing the support
- Prefer a battery-powered sensor with a low battery indicator, as a sensor with a dead battery transmits erroneous data before ceasing to emit
The reliability of an outdoor thermometer ultimately depends on a trade-off between four parameters: distance from heat sources, protection from radiation, air circulation, and, for wireless models, the quality of the radio link. No domestic location will replicate a Météo-France station, but a sensor placed to the north of the house, at a good height, under a ventilated shelter, and far from any dark surface, will come close enough to provide a consistent daily measurement.